3D Wolf Shadow Box: Mountains & Nature Art
There is a distinct satisfaction in transforming flat materials into something with depth, presence, and life. For creators who work with paper crafting, the difference between a standard cutout and a layered masterpiece often comes down to design precision and layering strategy. A 3D Wolf Shadow Box featuring Mountains and Nature elements offers more than just a decorative item; it provides a structured pathway to achieving professional-looking results without the steep learning curve usually associated with complex papercraft.
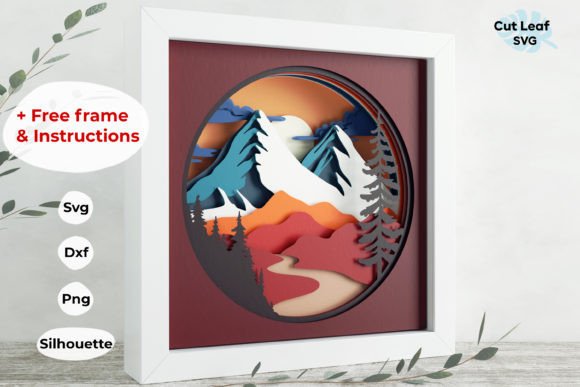
This type of project appeals to a wide range of individuals, from hobbyists looking for a weekend challenge to small business owners seeking unique inventory for their shops. The core value lies in the intersection of artistic vision and technical execution. When you engage with a design that captures the rugged beauty of a wolf against a mountainous backdrop, you are not merely assembling pieces of cardstock. You are curating an atmosphere. The interplay of light and shadow across ten distinct layers creates a visual narrative that changes depending on the viewing angle and lighting conditions, offering a dynamic piece of art that static prints cannot match.
Streamlining the Creative Process with Precision Files
One of the most significant hurdles in paper crafting is the time spent preparing files for cutting. Professionals and freelancers alike understand that time spent troubleshooting vector nodes or resizing images is time taken away from actual production. This is where having access to comprehensive Wolf 3d shadow box files becomes a practical asset. The listing includes files specifically prepared for seamless integration with industry-standard tools, ensuring that your workflow remains uninterrupted.
The inclusion of multiple file formats addresses the reality that creators use diverse ecosystems. Whether you rely on SVG files for Cricut Design Space and Silhouette Designer Edition, or require DXF for CNC machines and the basic Silhouette editions, versatility is key. For those working in professional graphic environments, the availability of EPS files ensures compatibility with Adobe Illustrator, Corel Draw, and Inkscape. Even users who need a quick visual reference benefit from the included PNG format with a transparent background. This breadth of support means you do not need to convert files manually, reducing the risk of errors and maintaining the integrity of the original design.
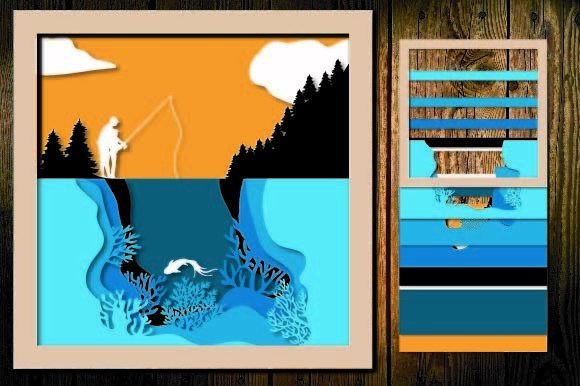
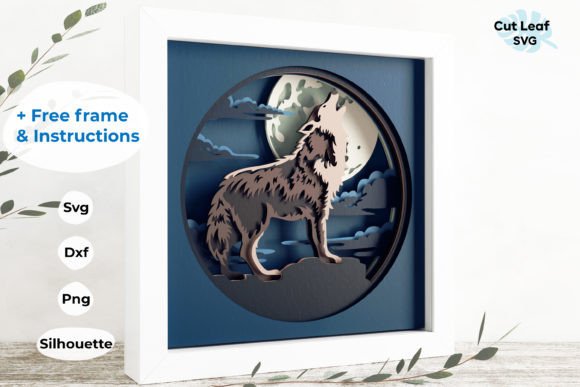
Furthermore, the design consists of 10 layers, each numbered for easy cutting and assembling in the right order. This numbering system is a crucial detail often overlooked in lesser designs. It eliminates guesswork during assembly, ensuring that the foreground elements, such as the wolf, sit correctly in relation to the mid-ground trees and the background mountains. For educators teaching crafting classes or parents guiding children through projects, this clarity simplifies instruction and reduces frustration.
Maximizing Material Efficiency and Frame Compatibility
Material waste is a concern for both environmental and economic reasons. A common issue with downloadable designs is that they are sized arbitrarily, forcing the user to scale them up or down, which can sometimes distort line weights or exceed material limits. These cutting files are sized to fit an 8.5 x 8.5 inner size frame and are ready to cut from standard 8.5x11-inch cardstock. This thoughtful sizing allows you to maximize the yield from every sheet of paper. You can arrange the layers efficiently on a single mat, minimizing offcuts and ensuring that a standard pack of cardstock goes further.
While the default size is optimized for an 8.5 x 8.5 inch display, the files are scalable to any desired size. This flexibility is vital for entrepreneurs who may want to create a large statement piece for a lobby or a miniature version for a gift tag. However, it is important to note that when scaling significantly, one must consider the thickness of the spacer material used between layers. If you enlarge the design substantially, standard foam tape might look too thin relative to the image size, requiring thicker spacers to maintain the correct proportion of depth. Conversely, shrinking the design too much might make intricate details difficult to weed or assemble without tearing.
The listing also includes a free frame 8.5 x 8.5 inner size guide. Creating a custom frame can be daunting, but having a template removes the barrier to entry. Instead of purchasing expensive pre-made deep-box frames, you can construct a sturdy housing using the provided instructions. This not only reduces costs but also allows for customization of the frame's finish to match specific interior decor themes.
Enhancing Presentation and Professional Outcomes
For marketers, bloggers, and content creators, visual assets are currency. A well-executed 3D shadow box can serve as a powerful focal point in photography, video backgrounds, or physical product displays. The depth achieved by the Mountains and Nature layers adds texture that cameras love, creating natural shadows that give the image a three-dimensional pop even in two-dimensional media. Using a 3D Wolf Shadow Box as a prop can elevate the perceived quality of your content, signaling attention to detail and craftsmanship.
Small business owners selling handmade goods can leverage these files to expand their product lines. Because the design is robust and the instructions are clear, it is possible to batch-produce these items efficiently. The PDF of instructions for easy shadow box making and the accompanying Layers Guide ensure consistency across multiple units. If you hire assistants or work with a team, these guides act as standard operating procedures, ensuring that every unit leaving your workshop meets the same high standard of quality.
It is also worth considering the therapeutic aspect of this craft. In a digital-heavy world, the tactile experience of cutting, weeding, and layering paper provides a grounding effect. For professionals experiencing burnout, engaging in a focused, step-by-step creative task can restore mental clarity. The process requires concentration on the immediate task—aligning layer four with layer five—which forces the mind to pause from broader strategic worries.
Practical Considerations for Success
While the provided files and instructions simplify the process, success still depends on material selection and technique. To achieve the best results with this 3D Wolf Shadow Box, consider using cardstock with a weight between 65lb and 80lb. Lighter paper may warp under the tension of adhesive or fail to hold its shape over time, while heavier board might be difficult to cut cleanly on consumer-grade machines. Additionally, the choice of adhesive matters. Double-sided foam tape is standard, but liquid glue applied sparingly can offer a cleaner look if you are skilled at application.
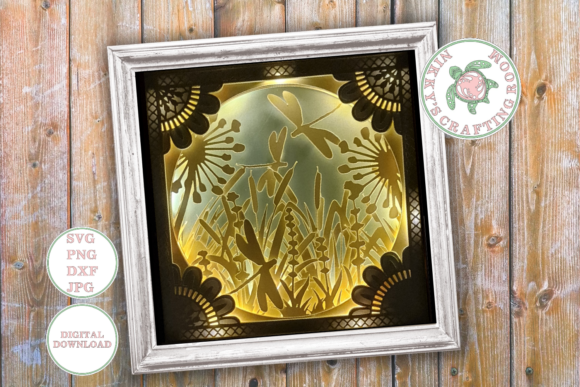
Lighting plays a pivotal role in the final presentation. Since the design relies on shadow to create depth, placing the finished piece in a location with directional light—such as near a window or under a track light—will enhance the 3D effect. In flat, ambient light, the layers may blend together, diminishing the impact of the Nature and Mountains elements. Experimenting with backlighting can also yield dramatic results, turning the shadow box into a silhouette art piece.
Ultimately, the value of this project lies in its balance of accessibility and sophistication. It offers enough complexity to be engaging for experienced crafters while providing the guardrails necessary for beginners to succeed. By utilizing the Silhouette Studio file or the SVG options, and following the numbered layering system, you can produce a piece of art that feels bespoke and high-end. Whether the goal is to decorate a home office, create a meaningful gift, or develop a new product for a store, the 3D Wolf Shadow Box serves as a versatile tool in the creator's arsenal.
Remember that while the digital files provide the blueprint, your choices in color, texture, and framing bring the Wolf and its environment to life. Taking the time to select complementary colors for the background layers or adding subtle ink distressing to the edges can further personalize the piece. The foundation is solid; the creative execution is where you make it your own.